Category Archives: Script

Automated Fortigate Config Backup on Config-Change

With Forti-Manager it’s possible to automatically save a config-copy on every config change. However – If you don’t want to buy/operate/whatever a dedicated manager but still want the advantage off having a copy on every config-change that could also be accomplished with foritgates “automation stitches”.

The following config shows how this could be archived:

FORTIGATE-SHELL # show system automation-stitch Automated_Config_Backup
config system automation-stitch
    edit "Automated_Config_Backup"
        set description "Creates Backup of the Config on a detected change"
        set trigger "Config_change_detected"
        config actions
            edit 1
                set action "Execute_Config_Backup"
                set required enable
            next
        end
    next
end

FORTIGATE-SHELL # show system automation-trigger Config_change_detected
config system automation-trigger
    edit "Config_change_detected"
        set event-type event-log
        set logid 44546 44547
    next
end

FORTIGATE-SHELL # show system automation-action Execute_Config_Backup
config system automation-action
    edit "Execute_Config_Backup"
        set description "Creates a Backup of the current Config"
        set action-type cli-script
        set script "execute backup config sftp /path/on/sftp-server/backup_%%log.eventtime%%.conf <SFTP-SERVER> <USERNAME> <PASSWORD>
        set accprofile "super_admin"
    next
end

This stich will run the backup action every time an object attribute or attribute was configured and push the new config to the SFTP-server.,

On the server it will be named “backup_<TS_in_ns>.config”

Zabbix Error “an array is expected” with Powershell

When trying to interact with the Zabbix-API via Powershell one might run into the problem, that an API request will not be executed successfully, but an error similar to the following one, will be displayed:

  code message         data                                                           
  ---- -------         ----                                                           
-32602 Invalid params. Invalid parameter "/1/filter/conditions": an array is expected.

Especially when using some code like in the below snippet which uses @(…) and @{…} to define data via arrays and hashtables:

function ZbxUpdateTestAction
{

    $params = @{
        body =  @{
            "jsonrpc"= "2.0"
            "method"= "action.update"
            "params"= @{
                "actionid" = "117"
                "status" = 0
                "filter" = @{
                    "evaltype" = 0
                    "conditions" = @(
                        @{
                            "conditiontype" = 4
                            "operator" = 5
                            "value"= 3
                        }
                        @{
                            "conditiontype" = 0
                            "operator" = 0
                            "value"= 435
                        }
                    )
                }
            }
            "id"= 1
            "auth" = "$api_token"
        } | ConvertTo-Json
        uri = $zbx_api_uri
        headers = @{
            "Content-Type" = "application/json"
            "Authorization" = "Bearer $api_token"
            }
        method = "Post"
    }
    $result = Invoke-WebRequest @params
    return $result.Content | ConvertFrom-Json
}

The above snippet just shows a test function to manually update an action and set conditions to send out alerts for severities of warning or higher for a specific host group.

However – when executed it will fail with the error from snippet 1.

This is because Powershell does the JSON-conversion only to a certain depth. If your structure reaches a deeper level, it will simply stop converting the dict or array which results in the above error.

Troubleshooting it, could be quite a pain in the ass as it’s not that simple to spot and when gradually extending the object it just works fine till you exceed a depth of 2.

To fix this – simple specify the depth for ConvertTo-Json

e.g.

function ZbxUpdateTestAction
{

    $params = @{
        body =  @{
            "jsonrpc"= "2.0"
            "method"= "action.update"
            "params"= @{
                "actionid" = "117"
                "status" = 0
                "filter" = @{
                    "evaltype" = 0
                    "conditions" = @(
                        @{
                            "conditiontype" = 4
                            "operator" = 5
                            "value"= 3
                        }
                        @{
                            "conditiontype" = 0
                            "operator" = 0
                            "value"= 435
                        }
                    )
                }
            }
            "id"= 1
            "auth" = "$api_token"
        } | ConvertTo-Json -Depth 5
        uri = $zbx_api_uri
        headers = @{
            "Content-Type" = "application/json"
            "Authorization" = "Bearer $api_token"
            }
        method = "Post"
    }
    $result = Invoke-WebRequest @params
    return $result.Content | ConvertFrom-Json
}

Compare line 29 between the two snippets

Refs:

Nerdfonts in zsh for exa

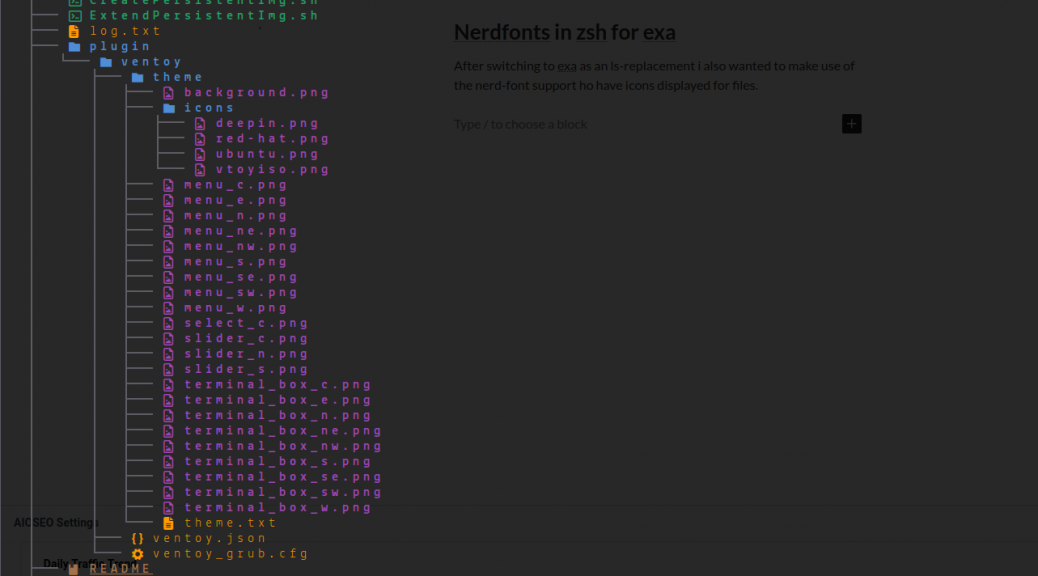
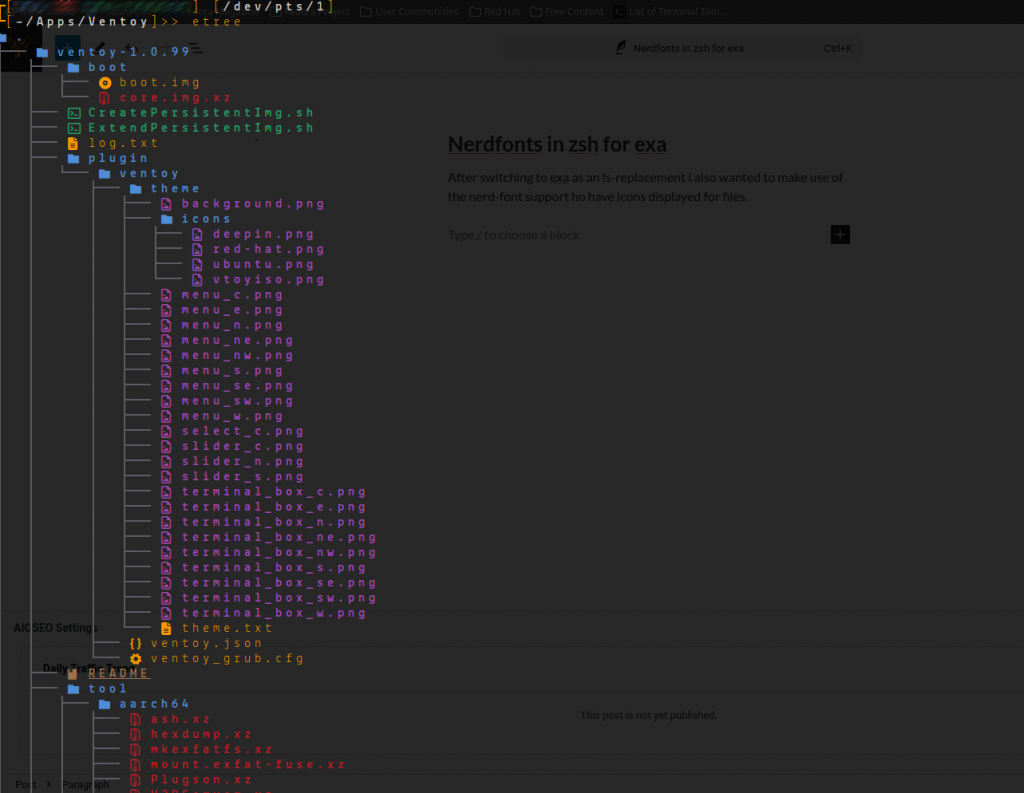
After switching to exa as an ls-replacement i also wanted to make use of the nerd-font support ho have icons displayed for files.

alias etree='exa --color --tree --icons=always'

However, in reality the fonts never looked the same in my terminal as in the web preview

So, to easy things up (getting the zip, unzipping it in ~/.local/share/fonts and updateing the fonts-cache) there is a little function which can be placed in the .zshrc/.bashrc to automate things.

#Function to install NerdFonts
function install_nerdfont()
{
	if [ -not $1 ];
	then	
		echo -e "\e[91mParameter missing!\e[0m"
	fi

	cd ~/.local/share/fonts
	wget $1
	unzip -u *.zip
	rm *.zip
	fc-cache -fv	
	cd -

}

Once executed with the download-URL as a paremeter, the font will be installed to your home directory.

If the fonts should be installed system-wide, this can be archived by placing them in /usr/local/share/fonts (folder might needs to be created if it does not exist).

Once the fonts are installed – the terminal-profile must be configured to use the newly installed fonts and that’s it.